SDB:Live USB stick
Inhoud
Creëer een Live USB (GUI)
Download de LiveCD ISO
Download het installatie-image van uw keuze vanaf http://software.opensuse.org/. U moet kijken naar de USB DVD sectie hieronder als u niet wilt installeren vanaf een LiveCD image.
 br> |
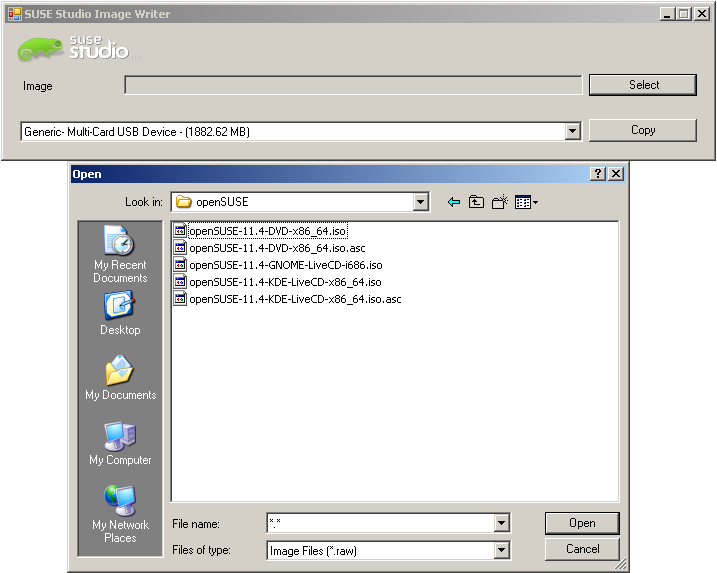
Windows-instructiesDownload ImageWriterDownload de SUSE Studio ImageWriter Schrijf ISO naar USBSchrijf de LiveCD naar de USB stick. OPMERKING: Anders dan de Linux versie van Imagewriter.exe, zal de Windows versie, niet automatisch .iso bestanden zien, alleen .raw, maar het werkt met elk van deze bestanden zonder problemen. Dat leidt tot handmatige selectie zoals hieronder beschreven.
OPMERKING: U kunt deze fout krijgen op sommige MS Windows systemen:
|
 br> |
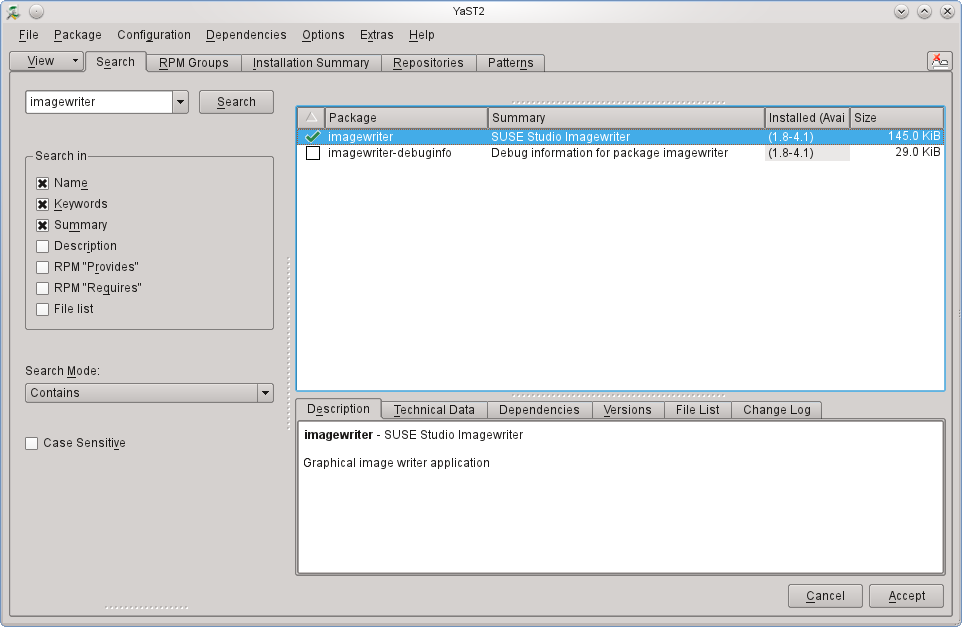
Linux-instructionsInstalleer ImageWriterInstalleer de SUSE Studio Image Writer.
|
 br> |
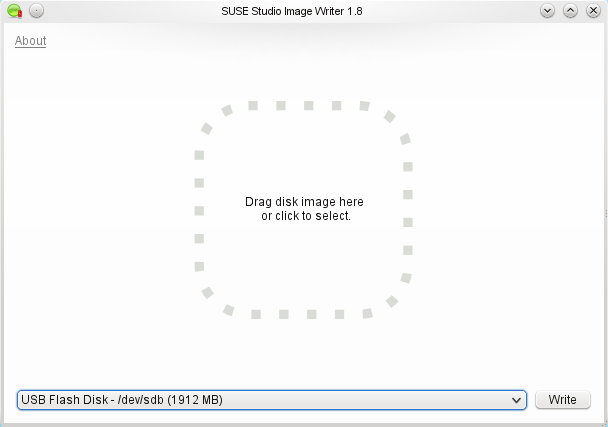
Schrijf de ISO naar USBSchrijf de LiveCD image naar de USB stick
|
Maak een Live USB (op de console)
Download/verifieer de LiveCD ISO
| Dit artikel is nog maar gedeeltelijk vertaald. Als u mee wilt helpen met vertalen lees dan Wiki vertalen naar het Nederlands. |
Download the installation image of your choice from http://download.opensuse.org/distribution/12.1/iso/.
~> aria2c -x5 http://download.opensuse.org/distribution/12.1/iso/openSUSE-12.1-KDE-LiveCD-x86_64.iso
You may also want to verify the download integrity
~> gpg --recv-keys 9C800ACA
~> wget http://download.opensuse.org/distribution/12.1/iso/openSUSE-12.1-KDE-LiveCD-x86_64.iso.asc
~> gpg -a openSUSE-12.1-KDE-LiveCD-x86_64.iso.asc
 br> |
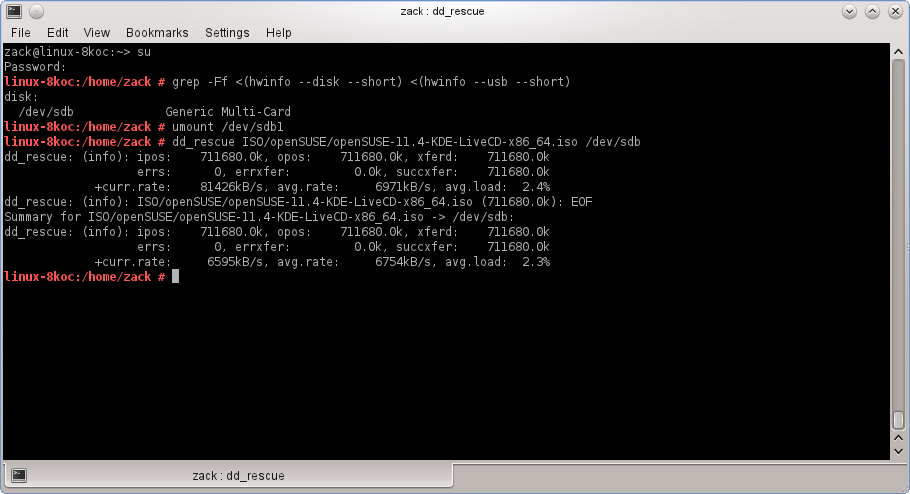
Linux InstructionsFind Block DeviceAfter inserting your USB stick, you can find out what device it is ~> su # grep -Ff <(hwinfo --disk --short) <(hwinfo --usb --short) Write ISO to USBFinally, once you've found your block device, write the image to it. Point 'dd' to the full path such as '/home/user/Downloads/openSUSE-12.1-KDE-LiveCD-x86_64.iso' or change directory (example: # umount /dev/sdX # dd if=/path/to/downloaded.iso of=/dev/sdX Alternate way to create live USB stick via command line on vfat partition live-fat-stick
|
| 200px br> |
OS X instructionsFind Block DevicePlug-in your USB stick and find what "/dev/diskN" it is mapped to by opening Terminal (where "N" stands for "disk0", "disk1", "disk2" etc). To do so, please execute: # diskutil list This will print out the list of currently mapped devices/partitions. Find the USB using "NAME" column. Then note the corresponding /dev/diskN, where "N" is for index of your disk. For example: /dev/disk2 #: TYPE NAME SIZE IDENTIFIER 0: FAT32 2.0 GB disk0 1: USB2 2.0 GB disk0s1 In this case "/dev/disk2" is the one we want. Unmount USB StickUnmount the USB stick # diskutil unmountDisk /dev/diskN Where /dev/diskN is the one you have found in previous step as per our example it would be "/dev/disk2". Write ISO to USBWrite the content of the ISO file: # dd if=/path/to/downloaded.iso of=/dev/diskN bs=4k Again the /dev/diskN is the same one you have found previously. You will be prompted for the administrator's password.
|
Bootable USB from DVD or Net-install
Download DVD ISO
Download one of the DVD or Net Installation images from http://software.opensuse.org/
 br> |
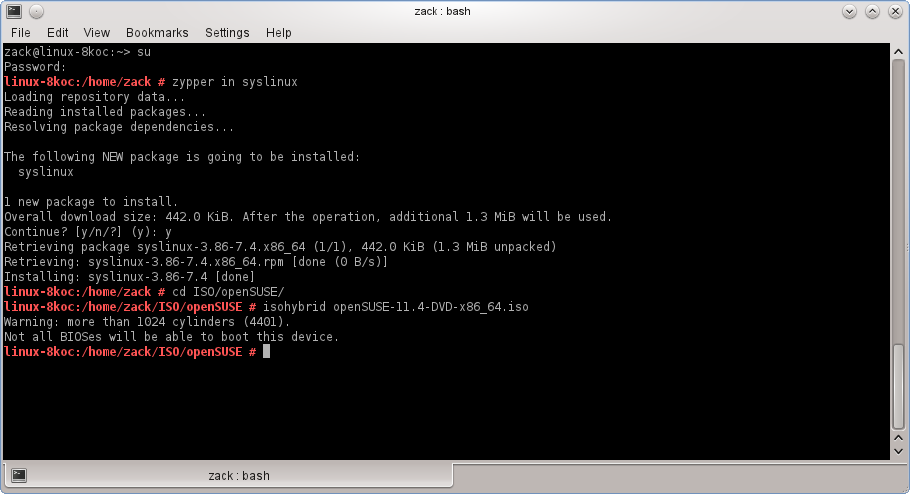
Linux instructionsInstall syslinux/isohybridIf you would like to boot the from a USB stick then you can make the ISO bootable by installing syslinux. # zypper in syslinux # isohybrid openSUSE-12.1-DVD-x86_64.iso Once completed just follow whichever set of above LiveUSB instructions you like, and take care to read the Booting from USB-DVD section below afterward.
|
 br> |
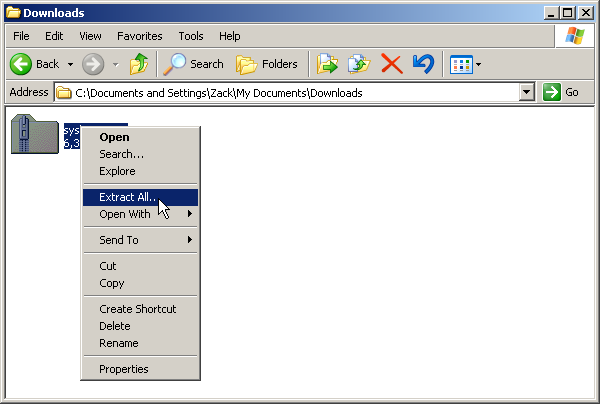
Windows instructionsGet isohybridDownload and extract isohybrid from the syslinux package.
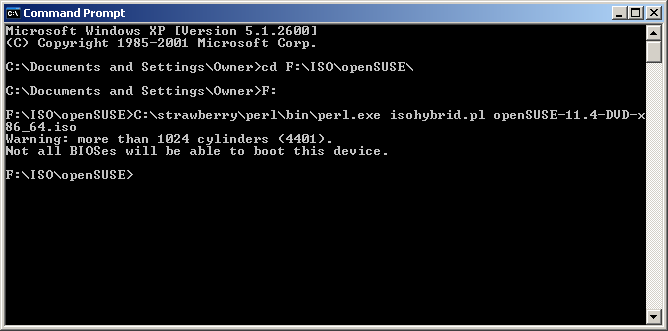
Install PerlInstall strawberry perl. |
 br> |
Create Hybrid ISOMake the DVD or Net-install image hybrid.
> C:\strawberry\perl\bin\perl.exe isohybrid.pl openSUSE-12.1-DVD-x86_64.iso
Once completed just follow whichever set of above LiveUSB instructions you like, and take care to read the Booting from USB-DVD section below afterward.
|
 br> |
Booting from USB-DVDWrite the image to the USB stick using the Windows instructions above.
|
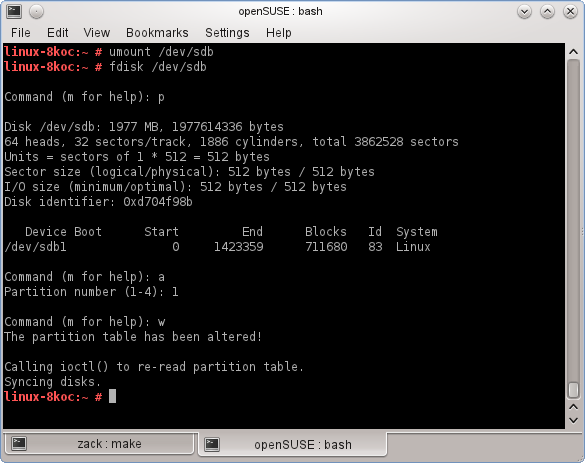
How to make a USB drive bootable
This situation would happen very rarely, but in the even that your computer doesn't boot from the LiveUSB/DVD from the steps above, you might try the following procedure.
 br> |
Linux InstructionsOpen a console and do the following as root # umount /dev/sdX # fdisk /dev/sdX : p «--- print partition table : a «--- activate partition (bootable) : 1 «--- apply to partition 1 : w «--- write changes and exit
|
 br> |
Windows InstructionsThe Windows equivalent of the above would look like this C:\> diskpart DISKPART> list disk «--- print disks DISKPART> select disk 0 «--- select disk number DISKPART> list partition «--- print partition table DISKPART> select partition 1 «--- select the first partition DISKPART> active «--- activate disk/partition (bootable) DISKPART> exit «--- exit Unlike fdisk, diskpart will preform changes as you enter them, therefore, there is no write instruction.
|
Live USB stick with persistent file system
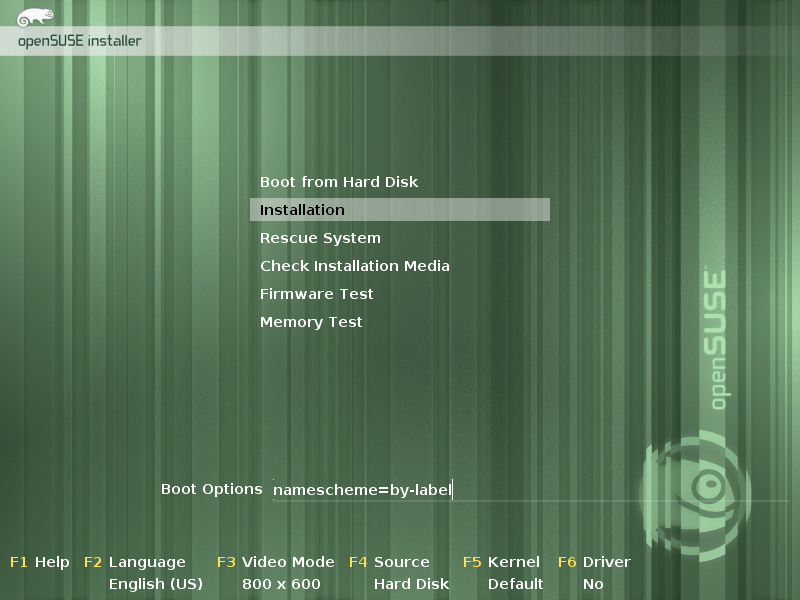
To create a persistent file system on the usb stick give at the initial boot prompt the extra command:
kiwi_hybridpersistent=yes
Now an extra file system will be created so that data can be stored on the stick in a persistent way.
Note that this only makes sense if your USB stick is larger than 1 GB.
Zie ook
- Live CD installatie voor 11.3
- YaST Image Creator module
- KIWI Cookbook: Live USB Stick
- KDE Plasma Netbook Werkruimte
Andere koppelingen naar openSUSE en Novell pagina's
- Discussies met de tag live usb stick op de openSUSE forums
- live-fat-stick[[Category:SDB:HOWTO's]